How to Add Functions to a Workflow
This guide provides a step-by-step process for adding and configuring functions within a Global AI platform workflow, focusing on the "Function" node and its capabilities.
Add a Function Node to Your Workflow
To add a function to your workflow, follow these steps:
- Navigate to Automation > Workflows > click on your workflow to open it.
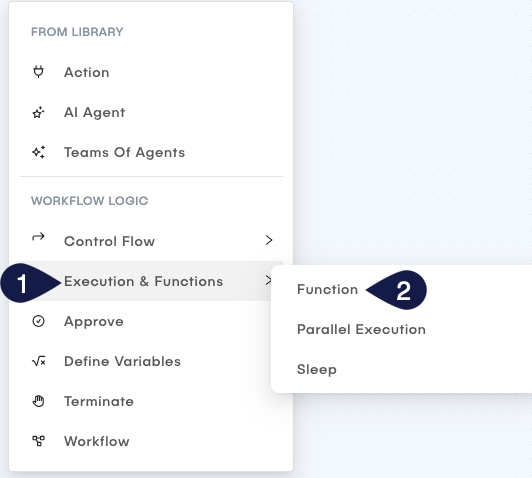
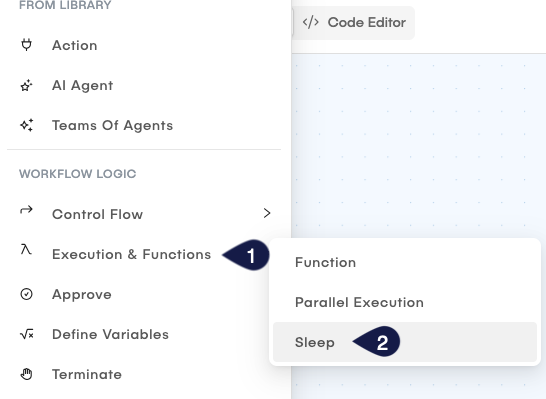
- Hover over the location where you want to add the node. Click the + icon. A menu opens showing all available node types.
- Select Executions and Functions > Function from the list of node types.
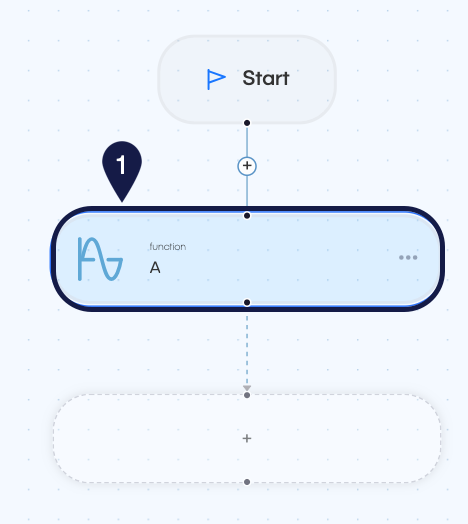
This opens a form called Node Type: Function. In this form, you can define the conditions for branching your workflow as follows:
- Name: Provide a name for your Function node.
- On Error: Select how the workflow should proceed if an error occurs during the execution of this node:
- None: The workflow continues execution even if an error occurs.
- Retry: The workflow retries executing the node if an error occurs.
- Skip: The workflow skips this node if an error occurs.
- Function: Click the search box to open the Choose Function modal.
- In the Choose Function modal, select the function you want to add to your workflow. You can use the search bar to find a specific function.
- Click on the desired function to select it. The modal closes, and the selected function appears in the Function field.
- Click Update to save the node configuration.
Use the Function node to integrate pre-defined functions into your workflow. One common use case is a "For Loop" function, which lets you iterate over a set of items or perform repetitive tasks within your workflow.
- The Function node lets you integrate pre-defined functions into your workflow, enabling you to perform specific tasks or operations as part of the workflow execution.
- You can manage and create functions in the Functions section of the Global AI platform, available via Infrastructure > Functions.
Add a Parallel Execution function node
To add a Parallel Execution function to your workflow, follow these steps:
- Navigate to Automation > Workflows > click on your workflow to open it.
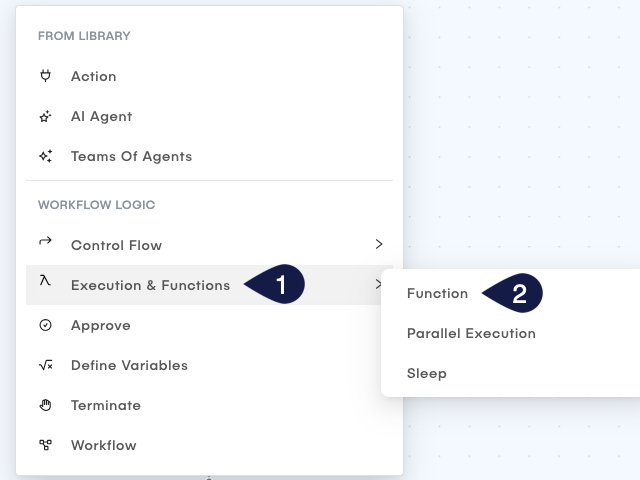
- Hover over the location where you want to add the node. Click the + icon. A menu opens showing all available node types.
- Select Executions and Functions > Parallel Execution from the list of node types.
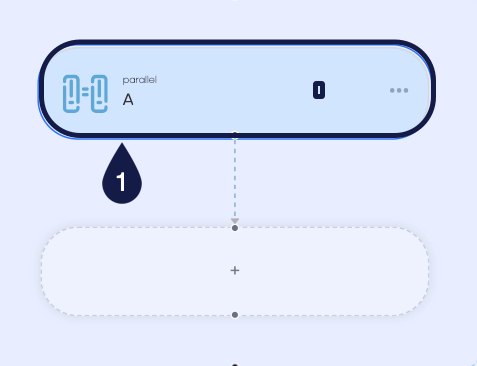
This opens a form called Node Type: Parallel Execution. In this form, you can define the conditions for branching your workflow as follows:
- Name: Provide a name for your Parallel Execution node.
- On Error: Select how the workflow should proceed if an error occurs during the execution of this node:
- None: The workflow continues execution even if an error occurs.
- Retry: The workflow retries executing the node if an error occurs.
- Skip: The workflow skips this node if an error occurs.
- Click Update to save the node configuration.
The Parallel Execution node lets you run several branches of your workflow simultaneously, improving efficiency and reducing execution time.
- The Parallel Execution node lets you run several branches of your workflow simultaneously, improving efficiency and reducing execution time.
- Each branch within the Parallel Execution node can contain its own set of nodes and logic, enabling complex workflows to execute in parallel.
Add a Sleep function node
To add a Sleep function to your workflow, follow these steps:
- Navigate to Automation > Workflows > click on your workflow to open it.
- Hover over the location where you want to add the node. Click the + icon. A menu opens showing all available node types.
- Select Executions and Functions > Sleep from the list of node types.
This opens a form called Node Type: Sleep. In this form, you can define the conditions for branching your workflow as follows:
- Name: Provide a name for your Sleep node.
- On Error: Select how the workflow should proceed if an error occurs during the execution of this node:
- None: The workflow continues execution even if an error occurs.
- Retry: The workflow retries executing the node if an error occurs.
- Skip: The workflow skips this node if an error occurs.
- Duration: Specify the duration for which the workflow should pause execution. You can enter the duration in seconds (for example,
10for 10 seconds,300for 5 minutes,3600for 1 hour). - Click Update to save the node configuration.
The Sleep node lets you pause the execution of your workflow for a specified duration. This is useful for introducing delays between actions or waiting for external processes to complete.
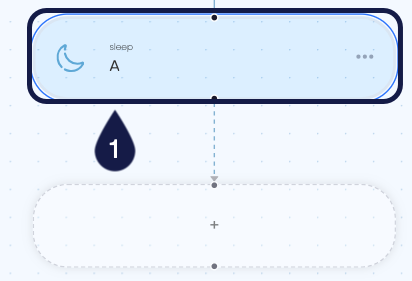
- The Sleep node lets you pause the execution of your workflow for a specified duration. This is useful for introducing delays between actions or waiting for external processes to complete.
- The duration specified in the Sleep node is in seconds.
Related articles
Now that you know how to add functions to a workflow, you can explore more about workflow construction and management in the Global AI platform.
Understand Actions
Learn about actions within workflows and how to utilize them effectively in the Global AI platform.
How to Add Nodes to a Workflow
Understand the concept of Nodes in the Global AI platform, which are the fundamental building blocks for creating effective automations.
How to Add Control Flow
Learn how to implement control flow mechanisms in your workflows for dynamic execution paths.