How to Deploy and Consume AI Agents
This guide explains the architectural differences between standard workflow agents and deployed agents, and details how to consume them via API for external applications.
Workflow Agents versus Deployed Agents
In GlobalAI, you can use agents in two distinct operational modes depending on your latency requirements and use case.
Workflow Agents (Ephemeral)
When you configure an agent directly inside a workflow node without deploying it, the platform initializes the agent "from scratch" for every single execution. This process involves building the environment, installing tools, and loading knowledge bases before the agent can process the prompt.
Best for: Asynchronous background processes (for example, a job starting at midnight) where startup time doesn't matter.
Deployed Agents (Persistent)
Deploying an agent creates a permanent "build" of that configuration, running as pods on the underlying Kubernetes cluster. Because the agent runs continuously and has its tools and knowledge loaded, it responds much faster than a workflow agent.
Best for: Chatbots, real-time user interactions, and external API integrations requiring low latency. This approach ensures speed, as deploying an agent on request might take 20 to 30 seconds.
Deployment configurations
When deploying an agent, two key settings control its performance and accessibility.
Replica count
This setting determines the number of Kubernetes pods dedicated to running this agent.
- Default: A count of 1 works well for standard workloads.
- Scaling: You can increase this number to scale out the agent for high-traffic scenarios.
Public hostname (visibility)
This setting controls whether to expose your agent to the open internet or restrict it to your internal network.
- Internal access only: If you leave the Public Host Name field empty, GlobalAI deploys the agent but makes it available only internally (for example, to other workflows or internal services).
- Public access: If you define a subdomain (for example,
my-support-bot), the agent becomes available via a public web address.
To learn how to deploy an agent step-by-step, refer to the How to Create an AI agent guide.
API interaction
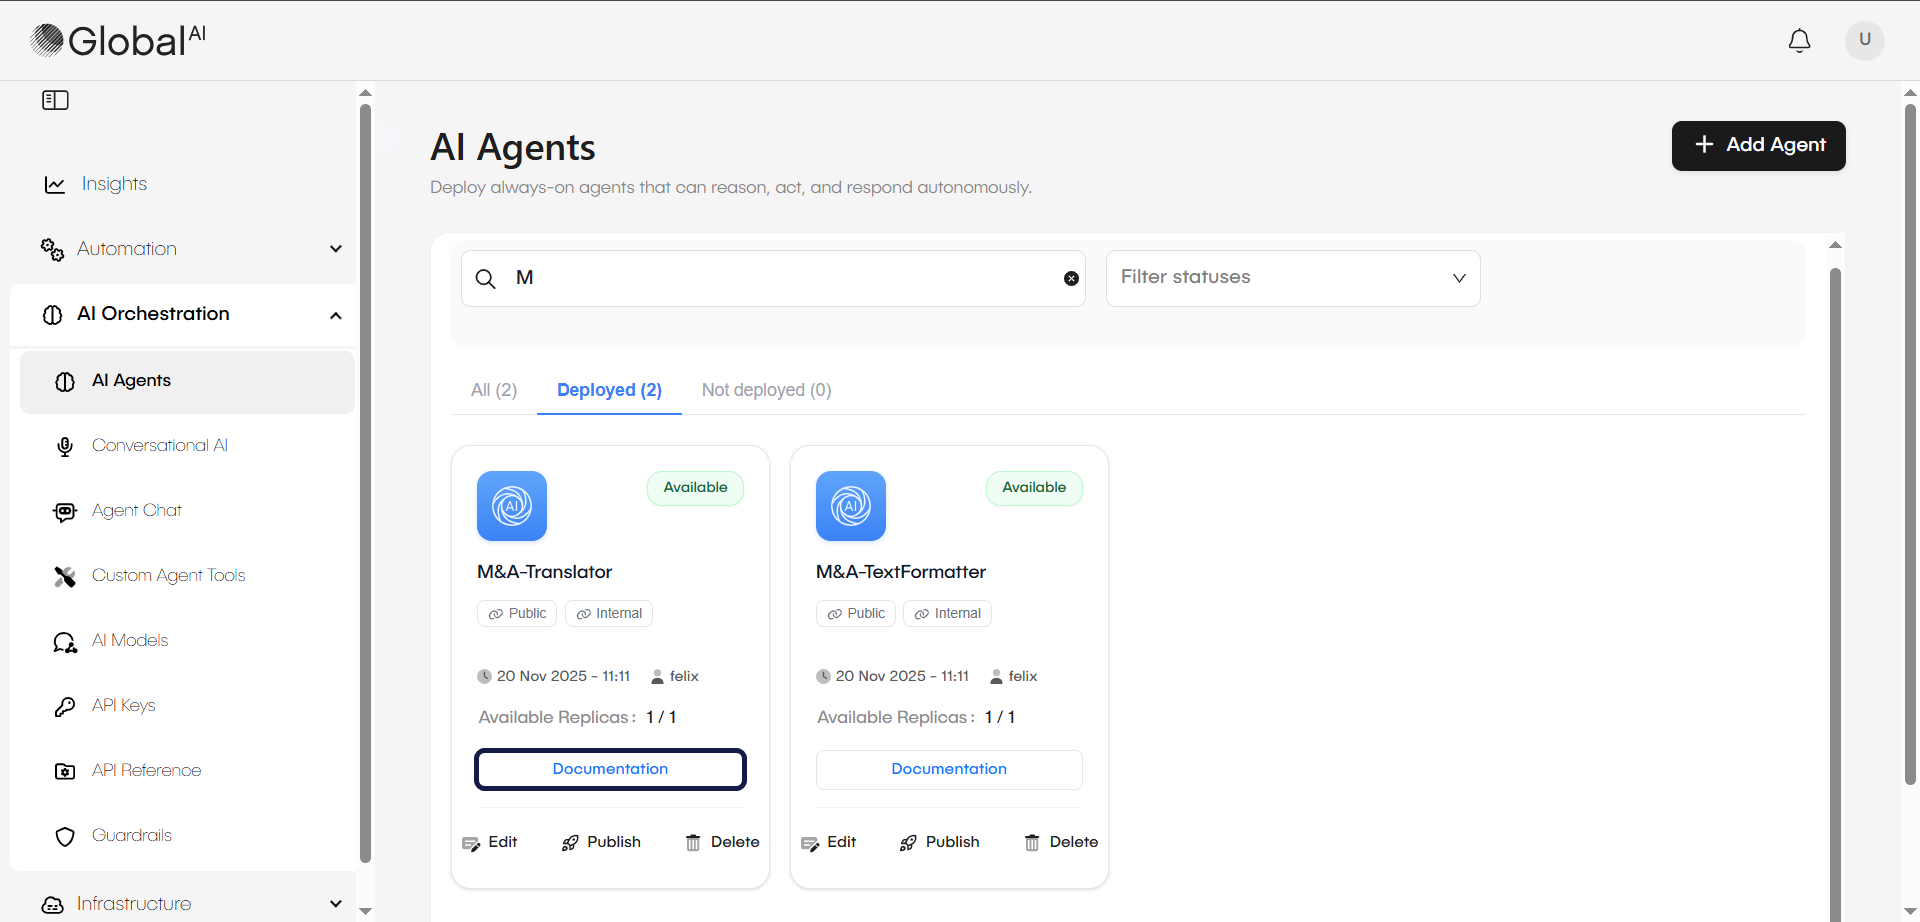
Every deployed agent automatically exposes a comprehensive REST (Representational State Transfer) API interface. You can access the Swagger documentation for a specific agent by clicking the Documentation link on its card in the AI Agents list.
Key endpoints
- Chat: The primary endpoint for sending user prompts and receiving answers. You can choose to receive the full response at once or stream the response token-by-token for a real-time typing effect.
- Files: Lets you upload files directly to the agent during a conversation for analysis.
- Sessions: You can retrieve chat history and metrics (token usage, tool calls) for specific conversation sessions via the API or the Audit Sessions UI.
Session management
To maintain context across API calls (for example, a back-and-forth chat), provide a session_id with each request. Without a session ID, the agent treats every request as a brand-new interaction. The system uses the session ID to group messages into a single conversation and to reuse the agent's memory. When you attach memory to the agent, the conversation appears in Audit Sessions.
Related articles
Now that you know how to deploy and consume AI Agents, you might want to learn more about: